ThermoWorks Calibration Services
ThermoWorks calibration laboratory is accredited by A2LA, which independently certifies our quality system and measurement capabilities. Our calibration services are faster (typically within 5 days) and less expensive (see our price list). No other calibration laboratory offers our combination of quality, professionalism, speed, and cost.
ThermoWorks' Accredited Calibration Laboratory
The ThermoWorks Calibration Laboratory is accredited to ISO/IEC 17025:2017 by A2LA. ISO/IEC 17025:2017 is the current international standard for calibration and testing laboratories and A2LA is the most widely recognized accreditation body in the United States.
What is Accreditation?
Accreditation through an organization such as A2LA is a process by which an authoritative, third-party, and fully independent body evaluates the end-to-end activities of an establishment (such as a calibration laboratory) with the goal of formal recognition that the establishment fulfills specified requirements and is competent to carry out specific tasks. This recognition is provided in the form of a certificate of accreditation along with a detailed scope delineating the technical capabilities of the establishment. In the case of a calibration laboratory such as the ThermoWorks Calibration Laboratory, the accreditation process consists of an exhaustive analysis of the laboratory’s documentation, written calibration procedures, uncertainty analysis and supporting data, and calibration staff education and training.
Why is Accreditation so Important to Your Business?
You may wonder what this means to you, our customers. In one word – confidence. Before accreditation, there was little to verify the competence of a calibration laboratory other than an on-site audit or questionnaire. The problem with these methods is that they are predominantly quality-oriented. Of course, the quality system is critical to any laboratory, but the technical performance is equally vital. Insight into the technical performance of a laboratory can only be obtained through a detailed, thorough, and hands-on evaluation of the laboratory’s operations. In other words, a technical assessment. Accreditation to 17025 addresses these issues.
ThermoWorks Scope and Capabilities
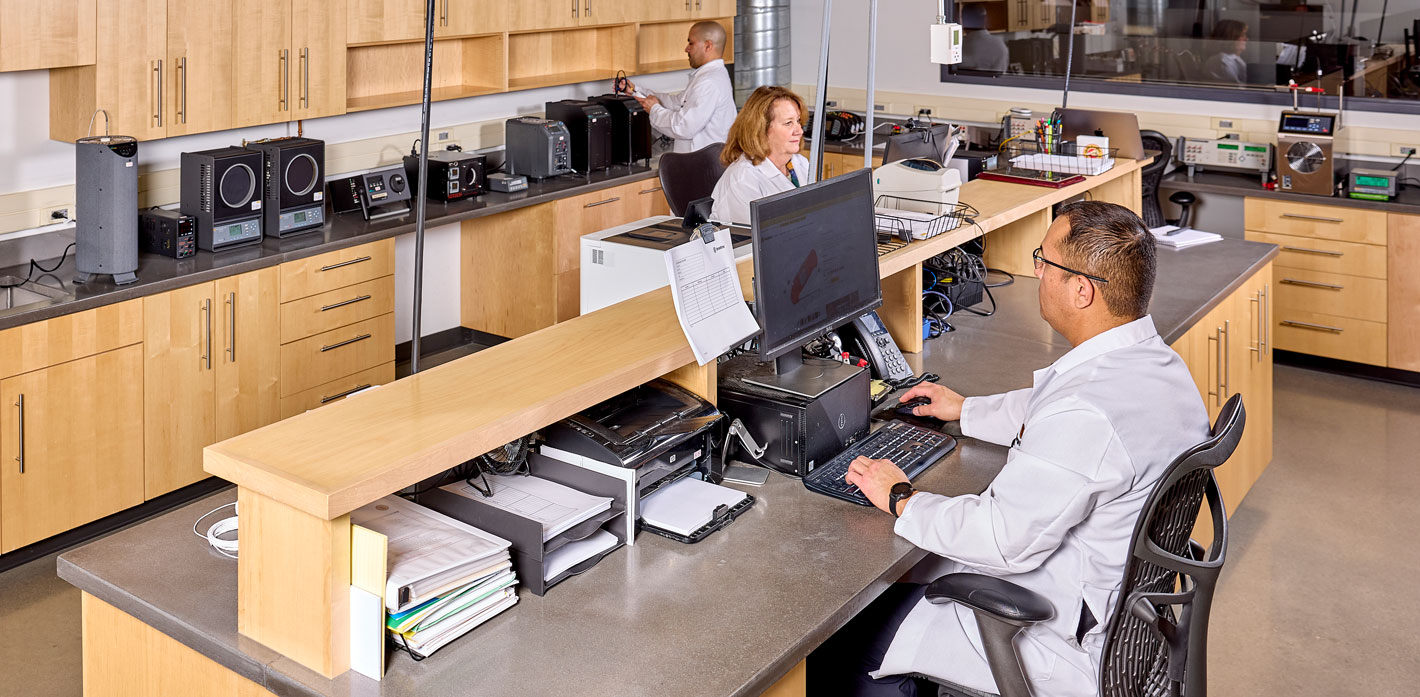
The ThermoWorks Calibration Laboratory scope is designed to support the test and calibration equipment we carry in our catalog along with the capability to calibrate many of the reference standards needed to support these instruments. To that end, the ThermoWorks Calibration Laboratory employs state-of-the-art comparison baths, reference thermometers, thermometry bridges, readouts, and myriad other instruments to attain temperature calibration uncertainties among the lowest available in a commercial calibration lab. In addition, we use procedures that enable our technicians to achieve these uncertainties while remaining highly efficient, keeping calibration costs as low as possible. We employ a similar approach in our relative humidity calibrations, employing both a two-pressure generator humidity and a split-flow humidity generator, having both of these technologies at our disposal allows the laboratory to optimize accuracy and efficiency.
Finally, to ensure that our reference standards remain accurate, the laboratory maintains a collection of reference standards which are used as check standards to monitor the stability of our reference standards. When used along with statistical methods, the reference standards are powerful tools used to ensure that the reference standards perform as expected.
Accredited Calibration Services
Calibrations are available at pre-determined fixed points or at custom targets defined by the customer. Calibration certificates are offered with new purchases or with recalibration services on units sold by ThermoWorks or by any manufacturer.
Actual test data for each requested target is reported on each certificate showing the individual instrument's recorded error and how it compares with the manufacturer's specification.
Accredited certificates are available in the following categories and ranges:
Accredited Probe & Meter Calibrations
Probe calibrations from -328 to 1220°F (-200 to 660°C)
Meter calibrations from -454 to 3214°F (-270 to 1768°C)
System calibrations offered (i.e. probe and meter together)
Data logger calibrations available (both probe and ambient sensors)
Accredited Infrared Calibrations
Infrared calibrations from 5 to 1292°F (-15 to 700°C)
Single and multi-point certificates
6 different Blackbody Targets from multiple vendors
Accredited Humidity Meter Calibrations
Hygrometer calibrations from 10 to 95% humidity
At ambient temperatures from 59 to 95°F (15 to 35°C)
Humidity in air
Single and multi-point certificates
See Standard Calibration Prices. For formal quotations or for pricing or for non-standard calibrations (additional or difference calibration points, for example), please call (801) 756-7705 or email calibration@ThermoWorks.com.
The ThermoWorks Tolerance Decision Rule:
Most calibrations require a statement of conformity (i.e., a pass/fail determination based on the instrument’s specifications). The ISO standard requires that the uncertainty of the measurement be taken into account when the pass/fail determination is made. The method used to account for the uncertainty is referred to as a tolerance “decision rule”.
The ThermoWorks decision rule is as follows:
The acceptance limits are based on the DUT specifications, the measurement uncertainty, the resulting test uncertainty ratio (TUR), and the maximum allowable probability of false accept risk (PFA, assumed to be 2%). In cases where the TUR ≥ 4:1, the acceptance limits = the DUT tolerance (referred to as simple acceptance). In cases where the TUR < 4:1, the acceptance limits are reduced by guard bands calculated using method 6 of NCSL Z540.3. This decision rule is provided here for your review and is stated in full on each Certificate of Calibration. If further explanation or discussion is required, please contact the ThermoWorks Calibration Laboratory.


